


Model: T2210-USRB
2-Port DisplayPort KVM Switch for 2 PCs 1 Monitor
*Need a different power plug? Contact us.
Pairs well with
Free US Shipping! Ships within 5-7 business days.
30-Day Hassle-Free Returns & Purchase Guarantee
1-Year Warranty
Secure Payment
2-Port DisplayPort KVM Switch for 2 PCs 1 Monitor
If you have any questions, you are always welcome to contact us. We'll get back to you as soon as possible, within 24 hours on weekdays.
-
Free US Shipping · Fast Delivery
Delivery typically arrives in 5–7 business days.
Details are available in our Shipping Policy. -
30-Day Returns · Quality Guaranteed
Returns are accepted within 30 days for peace of mind.
See our Returns & Warranty Policy for details. -
Secure & Trusted Payments
All transactions are protected with industry-standard security.
-
Customer Support
Questions about your order? Feel free to Contact Us.
Overview
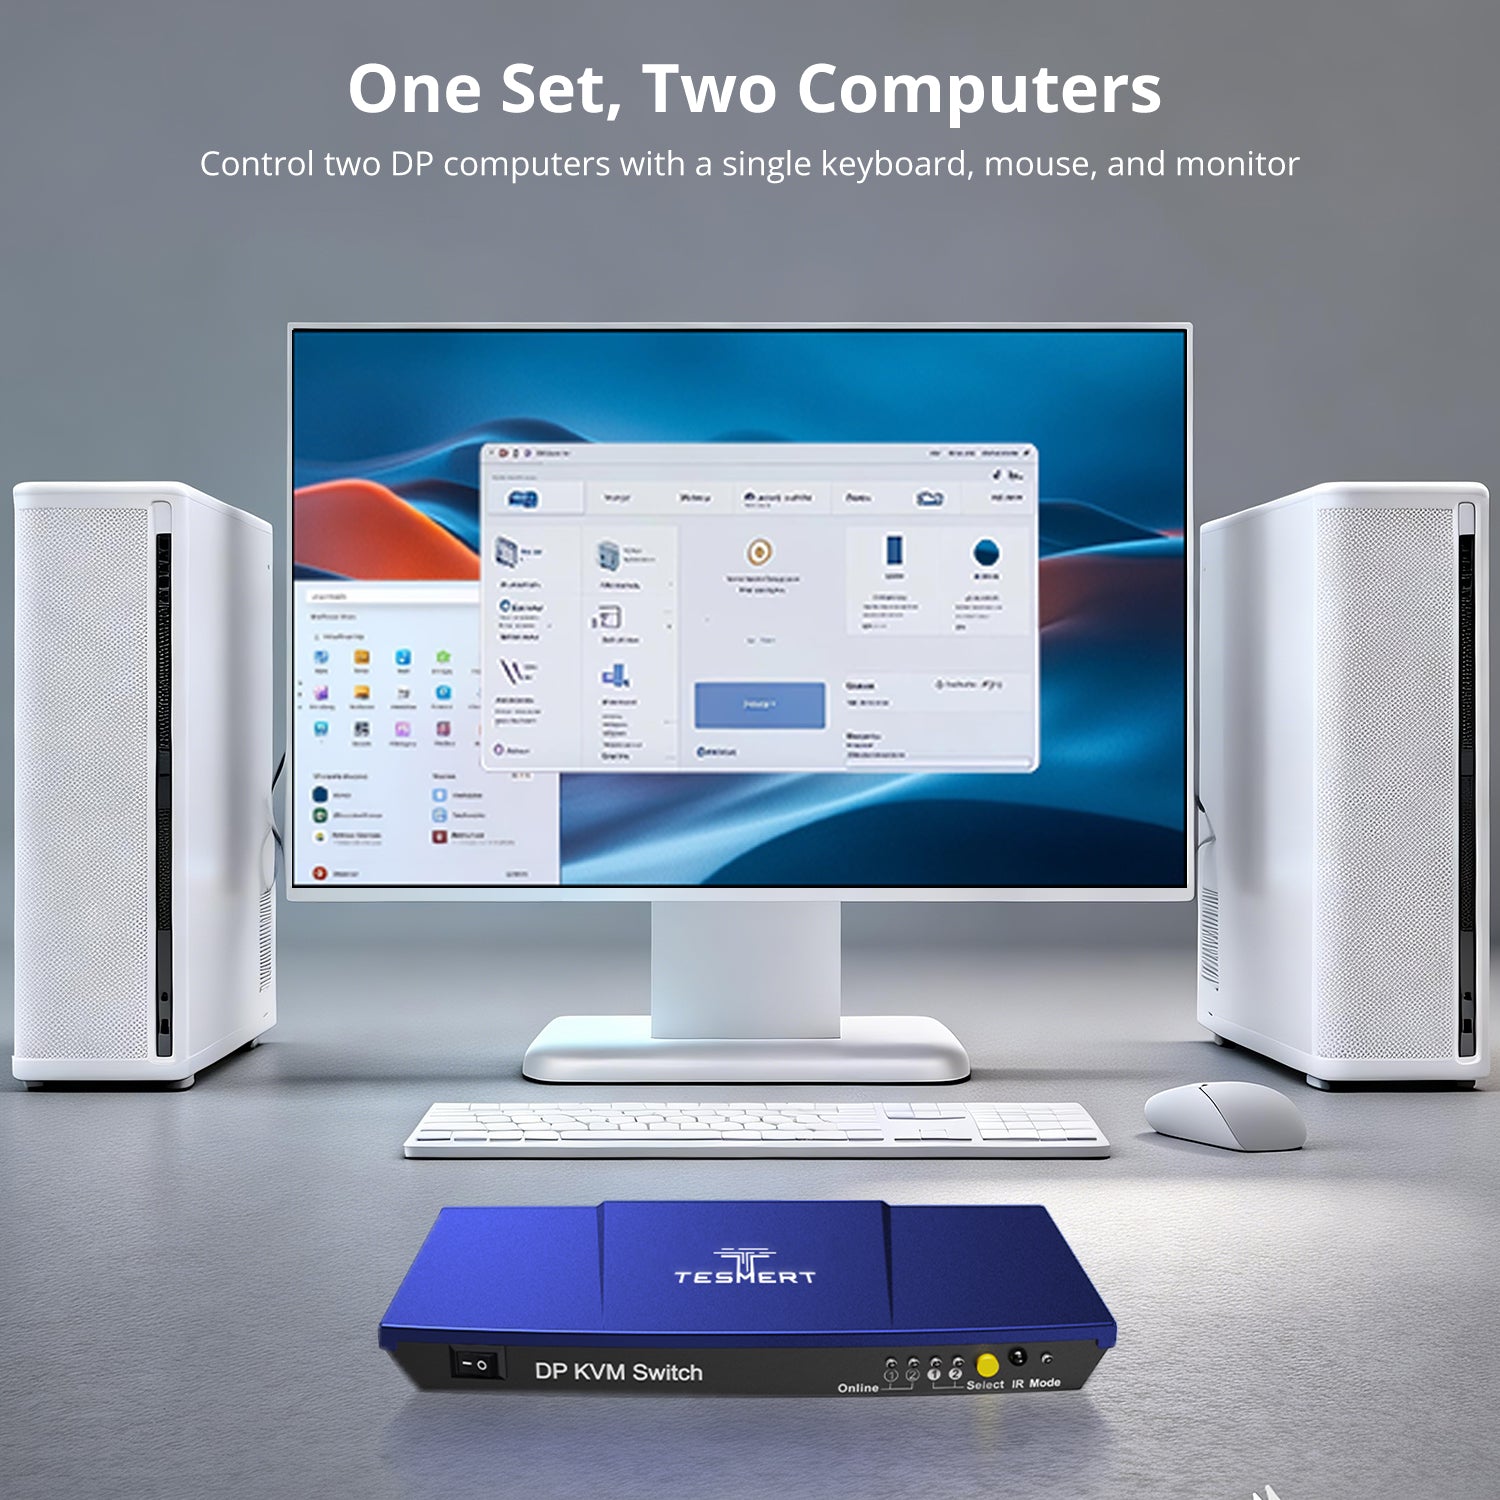
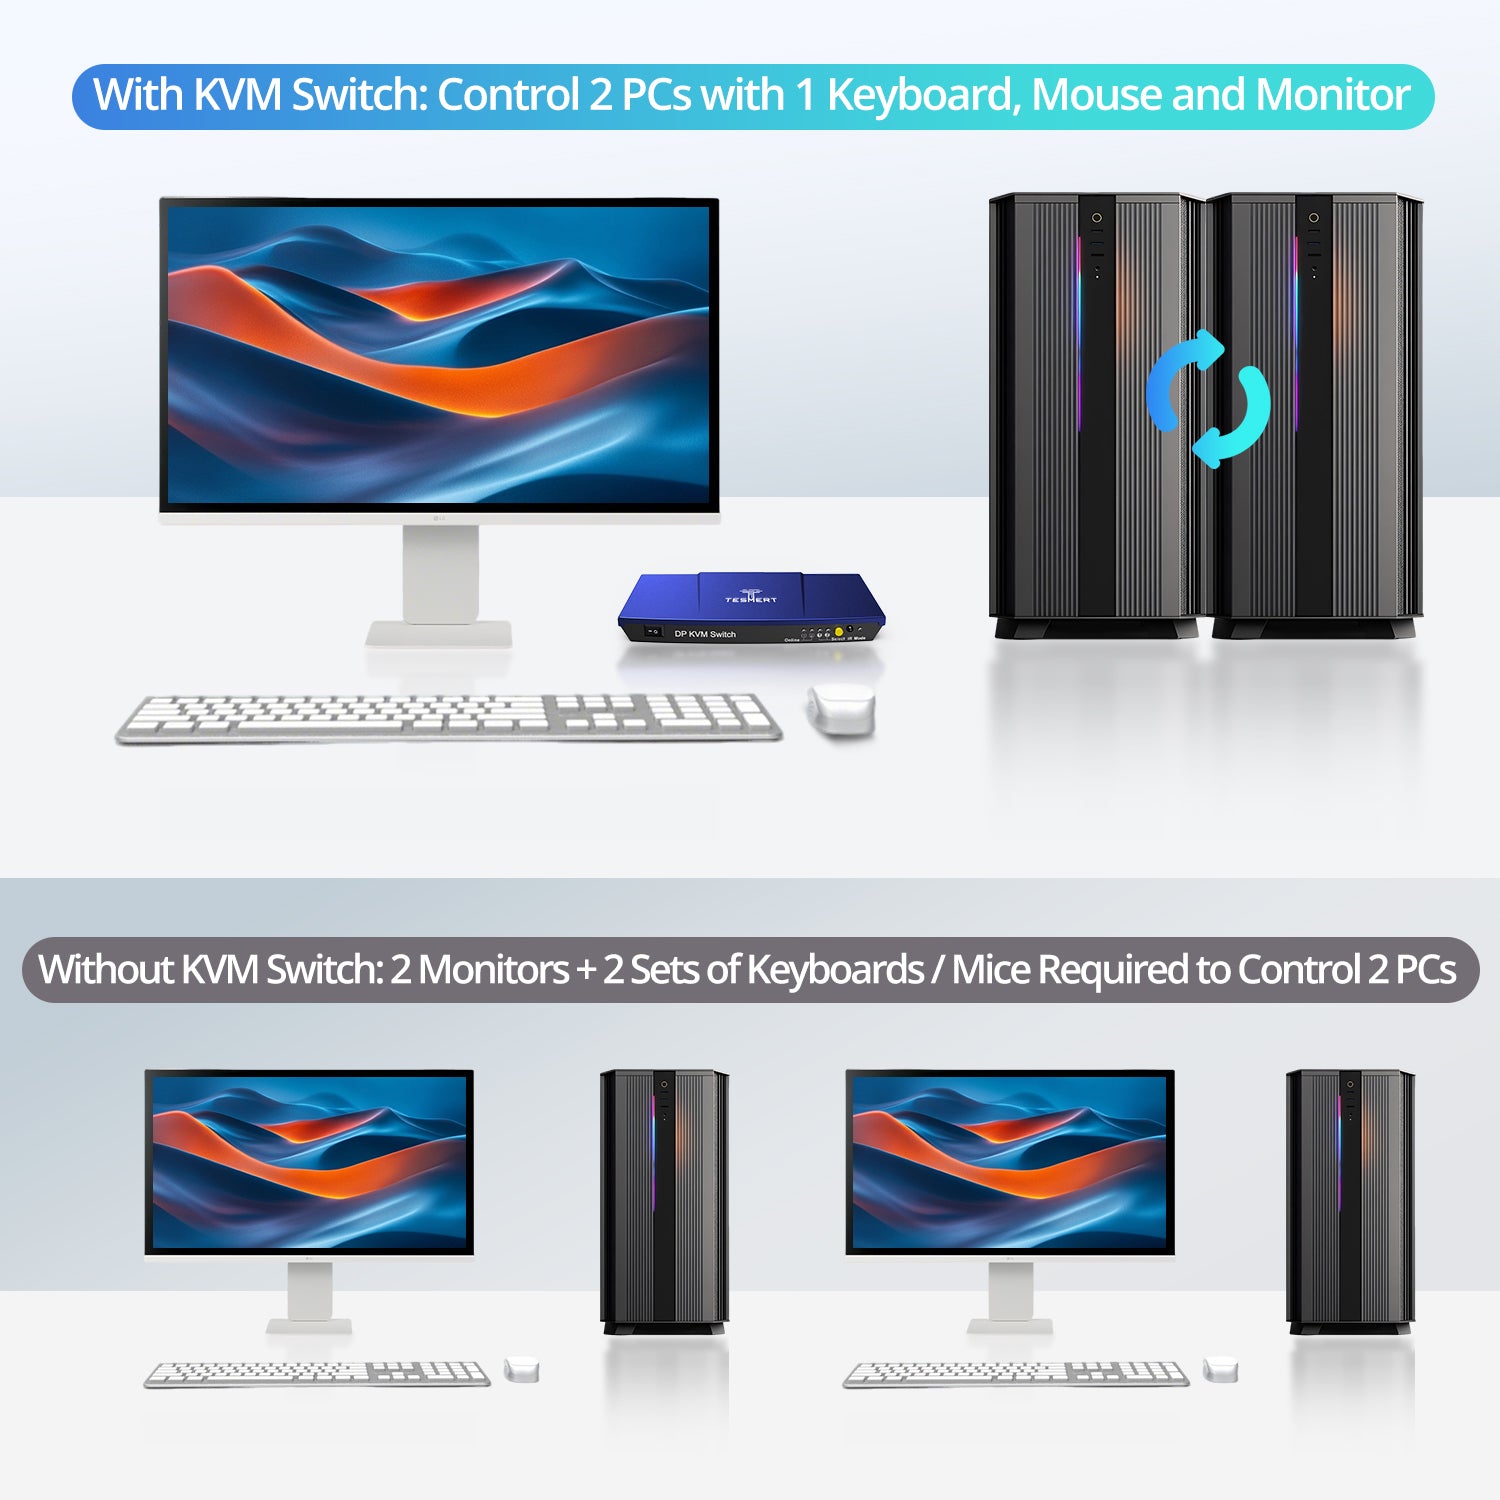
Designed for everyday dual-computer workspaces, this 2-in-1-out DisplayPort KVM switch lets two DisplayPort computers share one monitor, keyboard, mouse, and USB peripheral—all from a single workstation. Perfect for home offices, work-and-personal PC setups, and compact workspaces.
- Up to 4K@60Hz Resolution
Enjoy sharp text, clear images, and smooth performance for everyday work. From spreadsheets and web browsing to video meetings and daily tasks, T2210 delivers a reliable 4K viewing experience. - Share Essential USB Devices
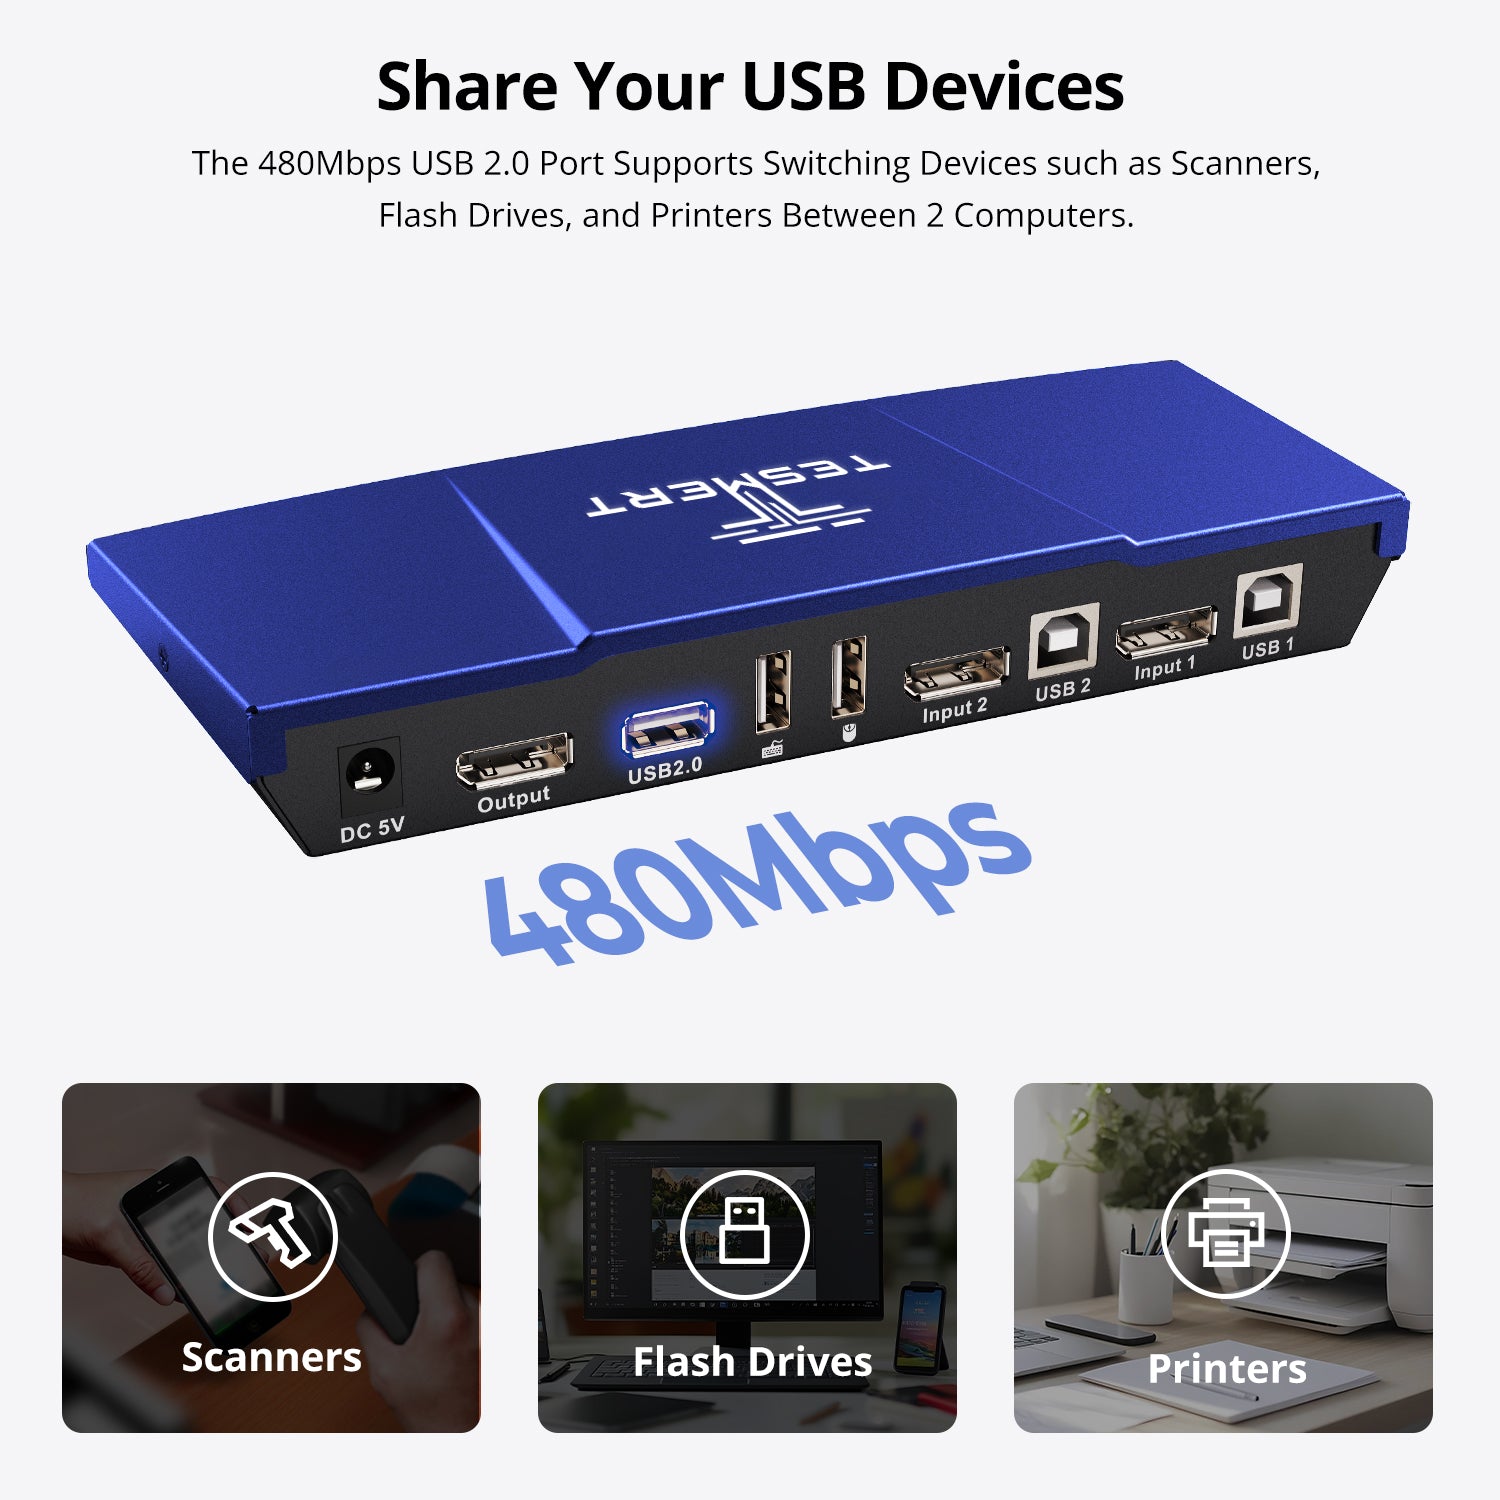
Keep your workspace organized by sharing a keyboard, mouse, and USB peripheral between two computers. Connect devices such as USB drives, printers, barcode scanners, and other USB accessories while reducing cable clutter. - 5 Ways to Switch
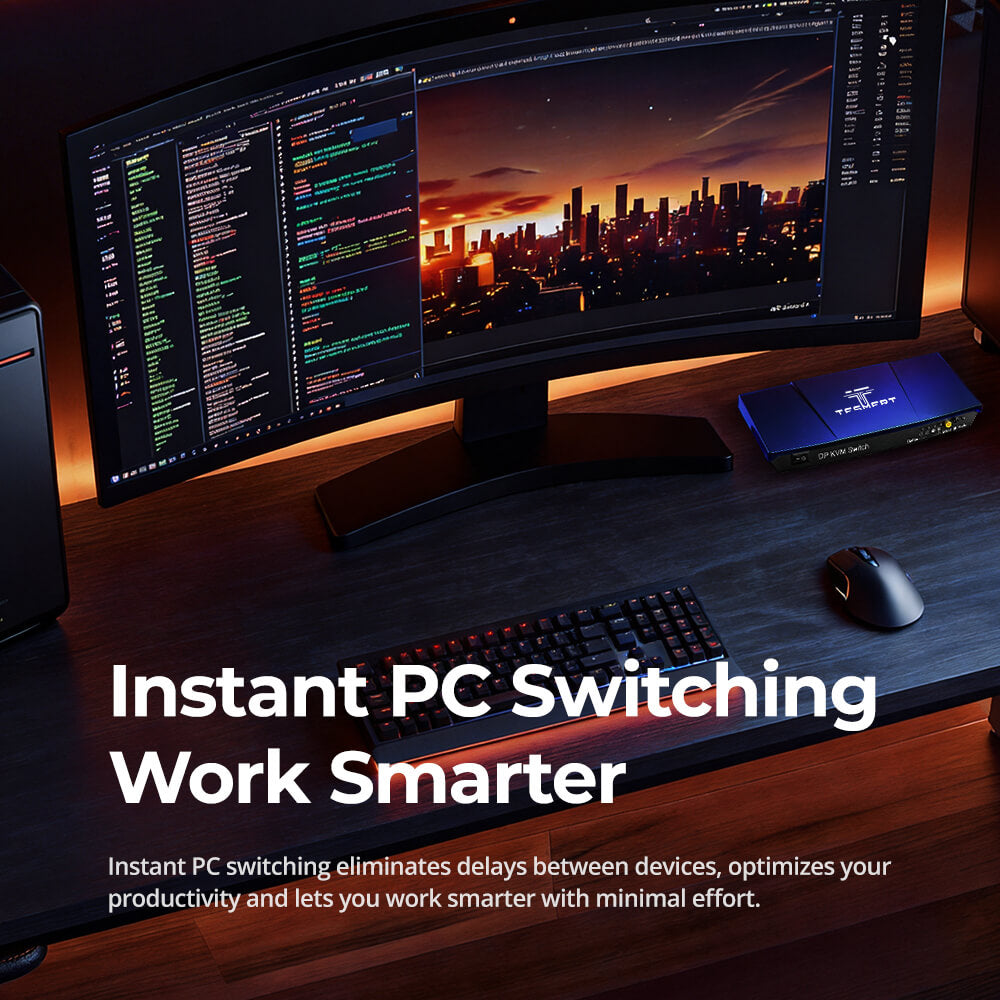
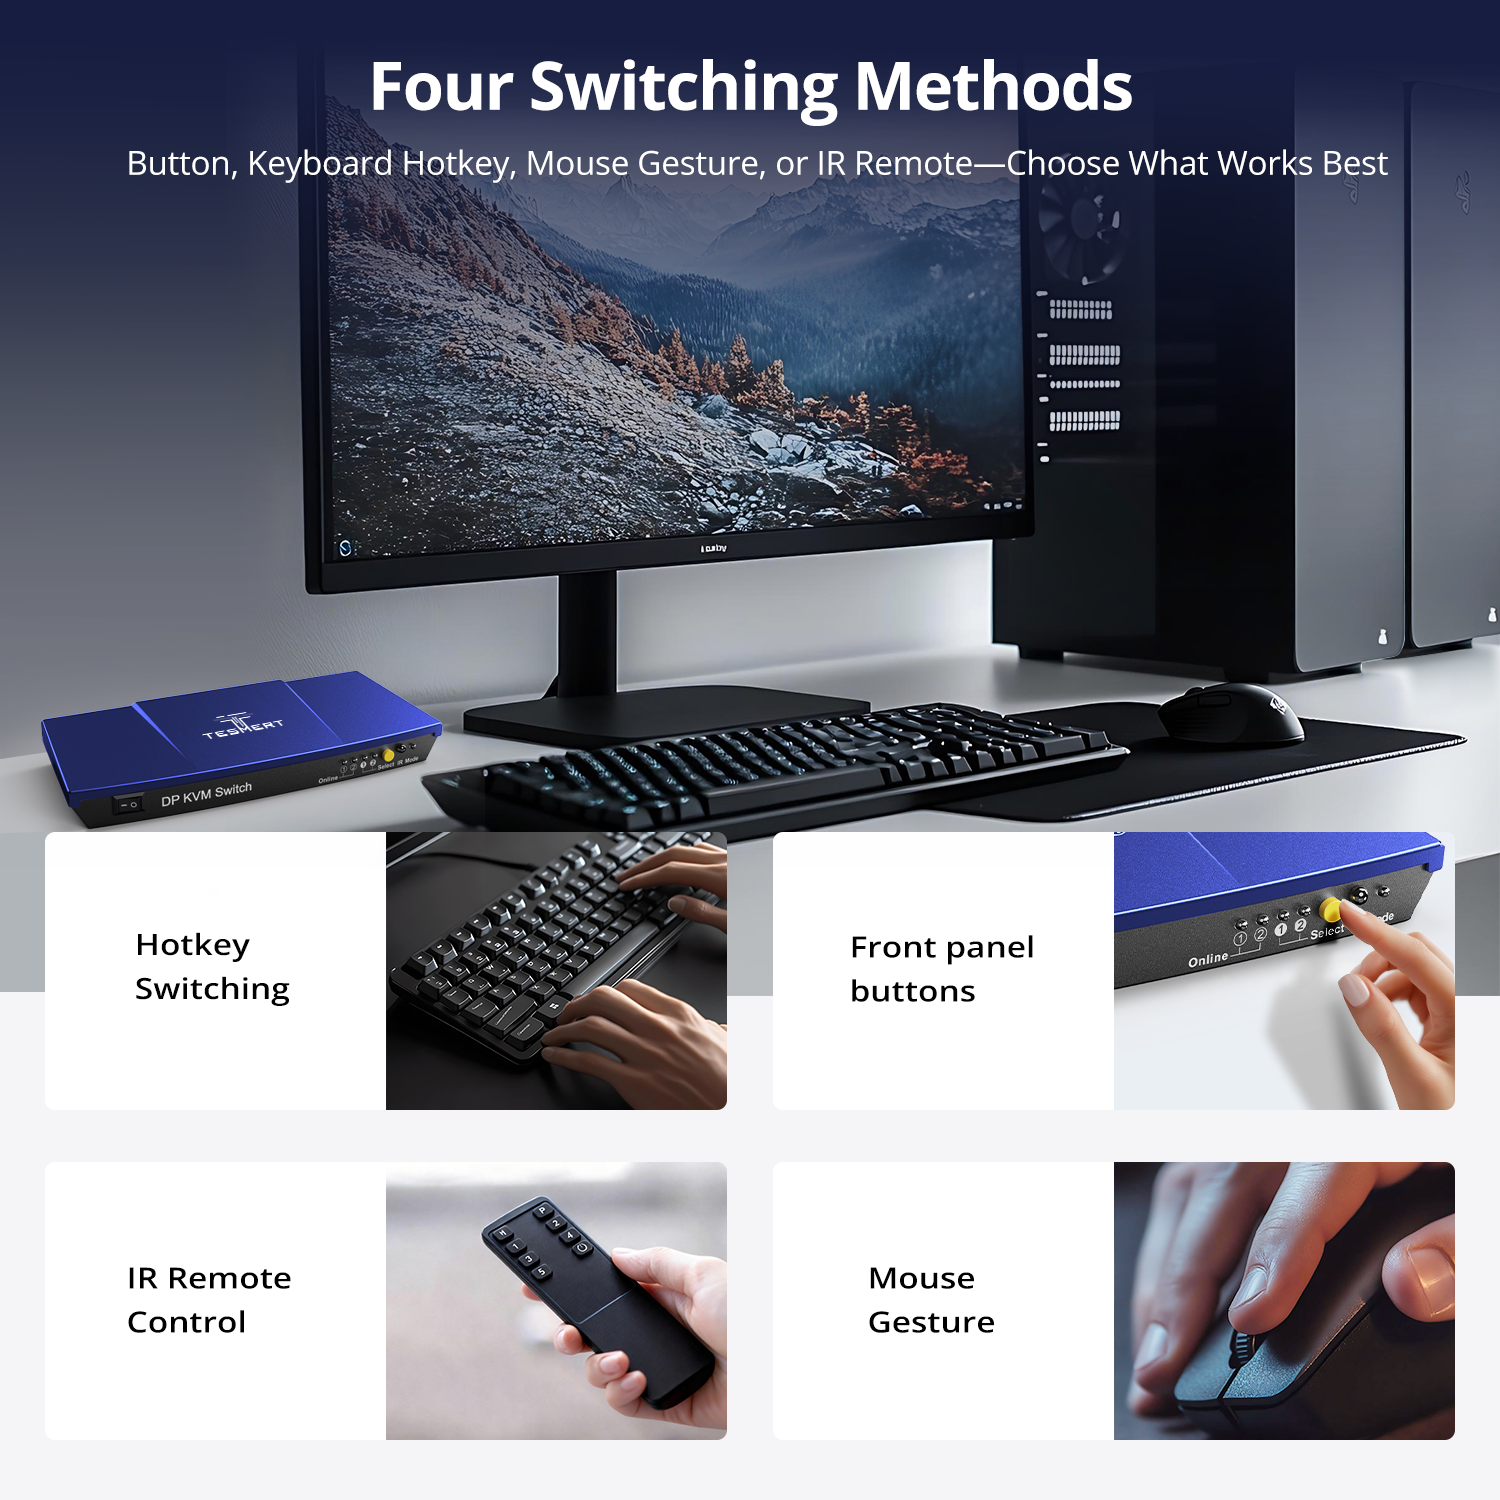
Switch computers the way you prefer using the front-panel button, keyboard hotkeys, mouse gestures, IR remote control, or Auto Scan mode—no software installation required. - Enhanced Keyboard & Mouse Compatibility
Keyboard and mouse pass-through technology supports a wider range of wired, wireless, gaming, and specialty input devices for a smoother switching experience. - Plug and Play Convenience
No drivers or software required. Simply connect your devices and start switching between computers instantly.
Technical Details
Specifications
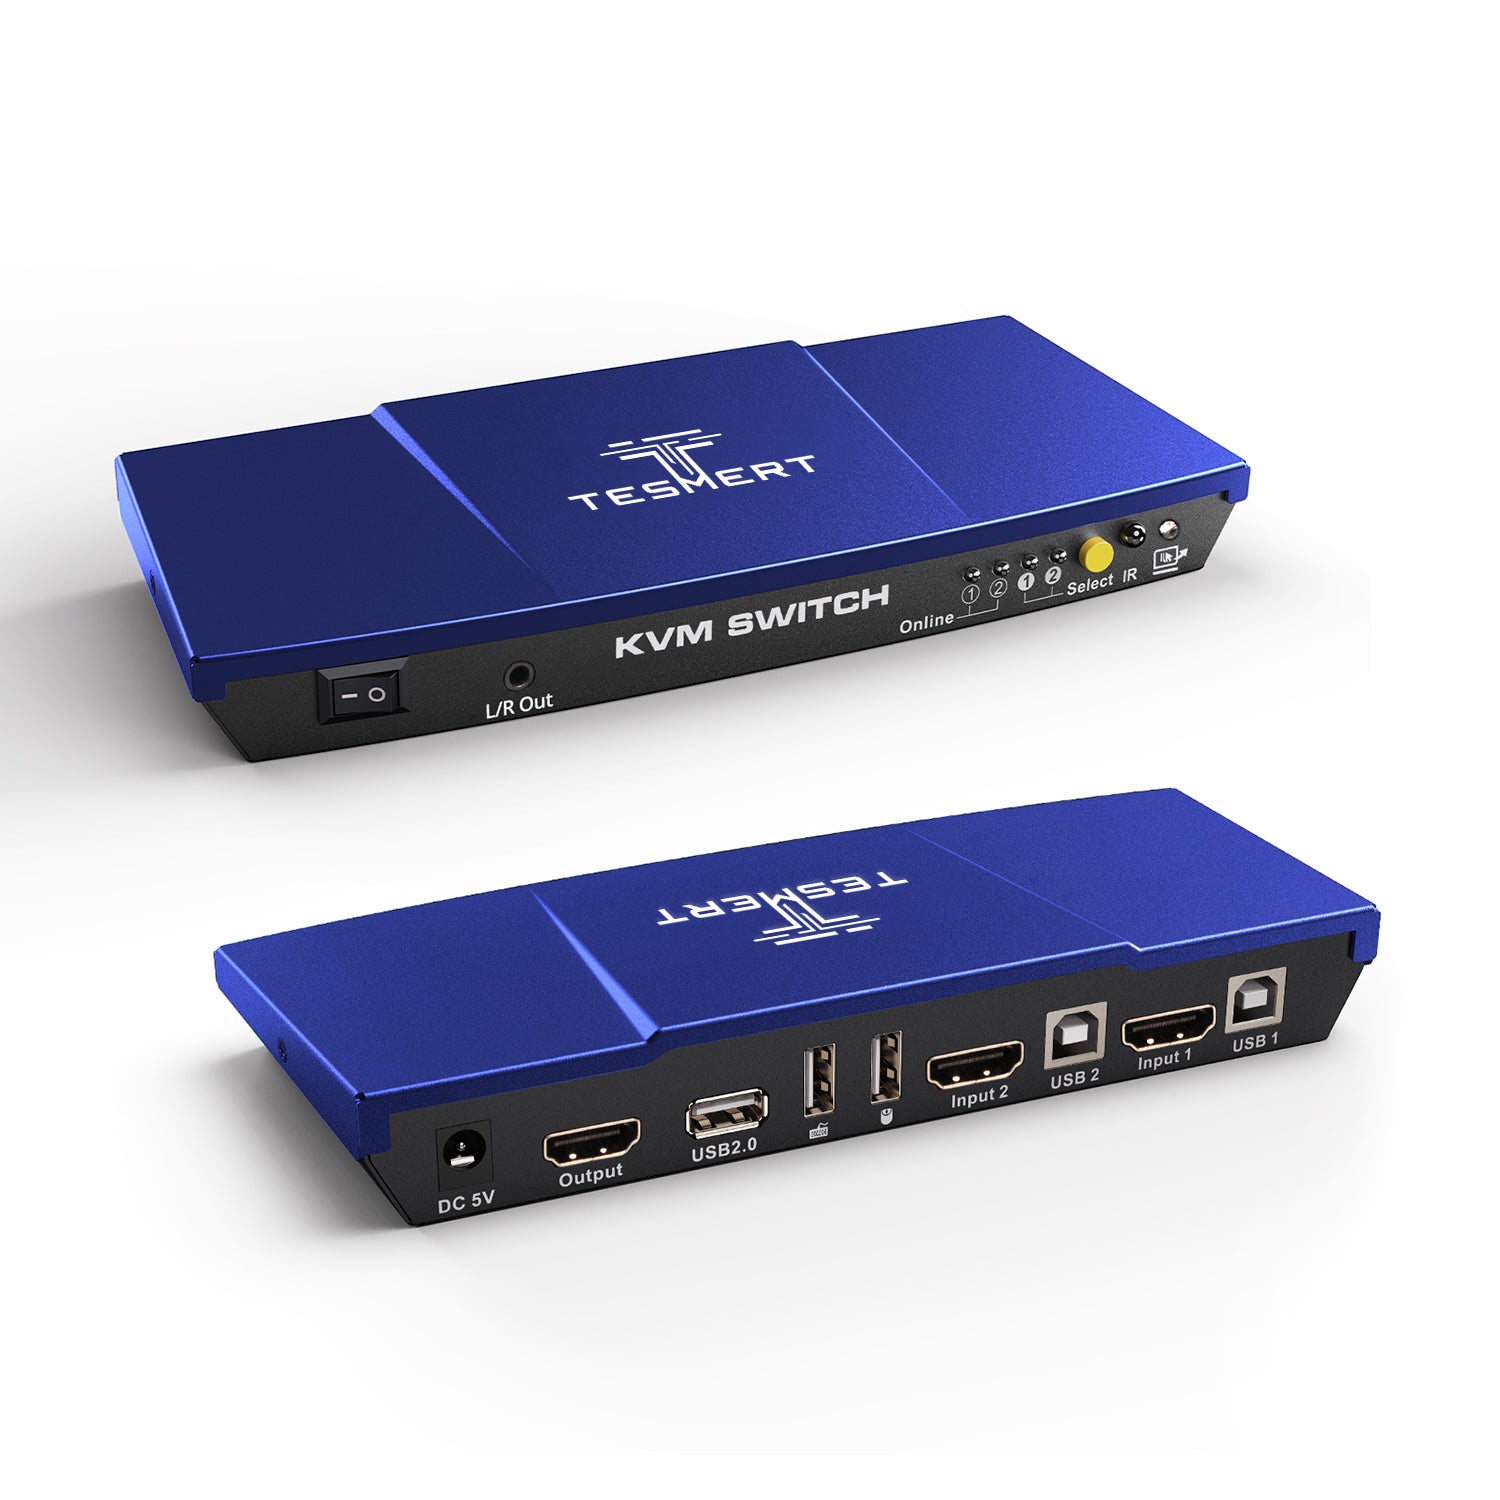
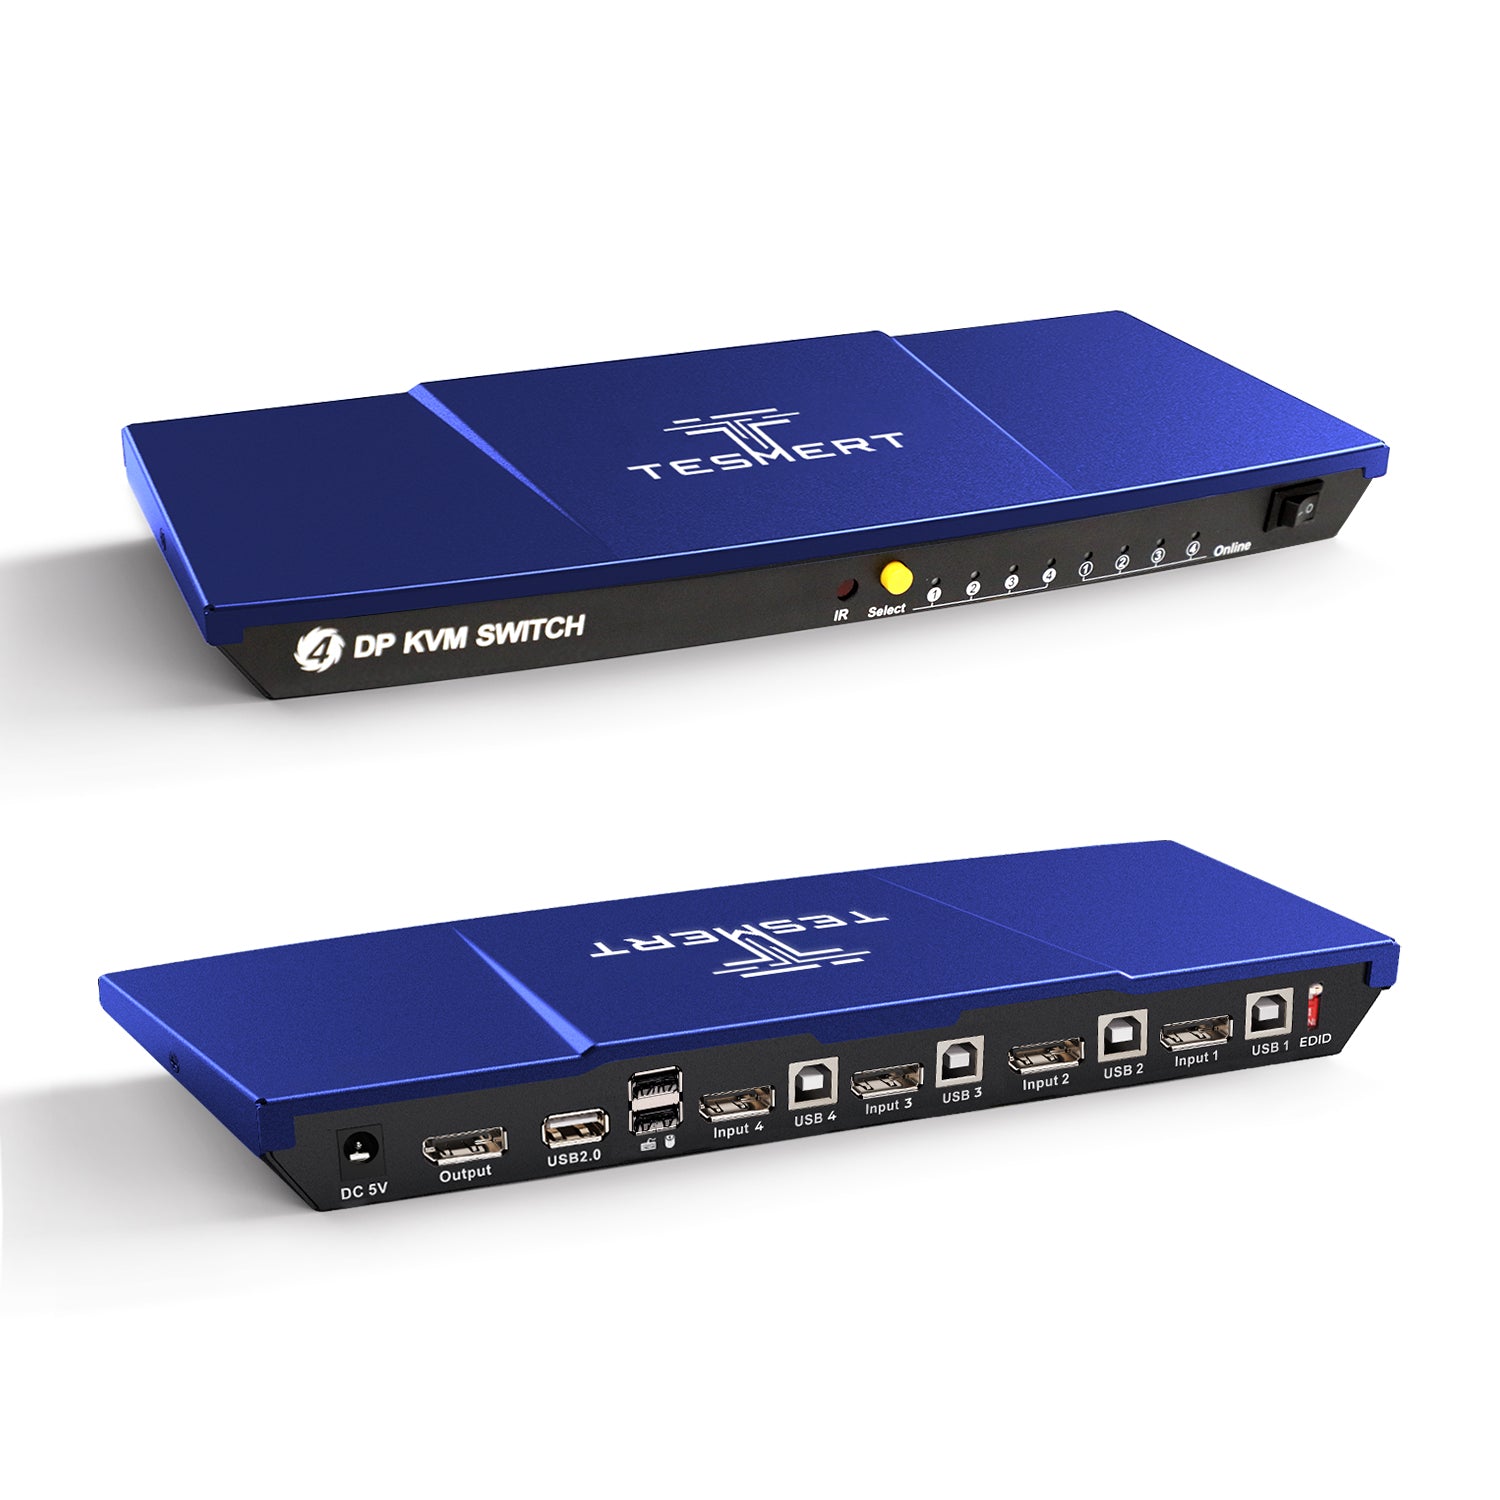
Connections
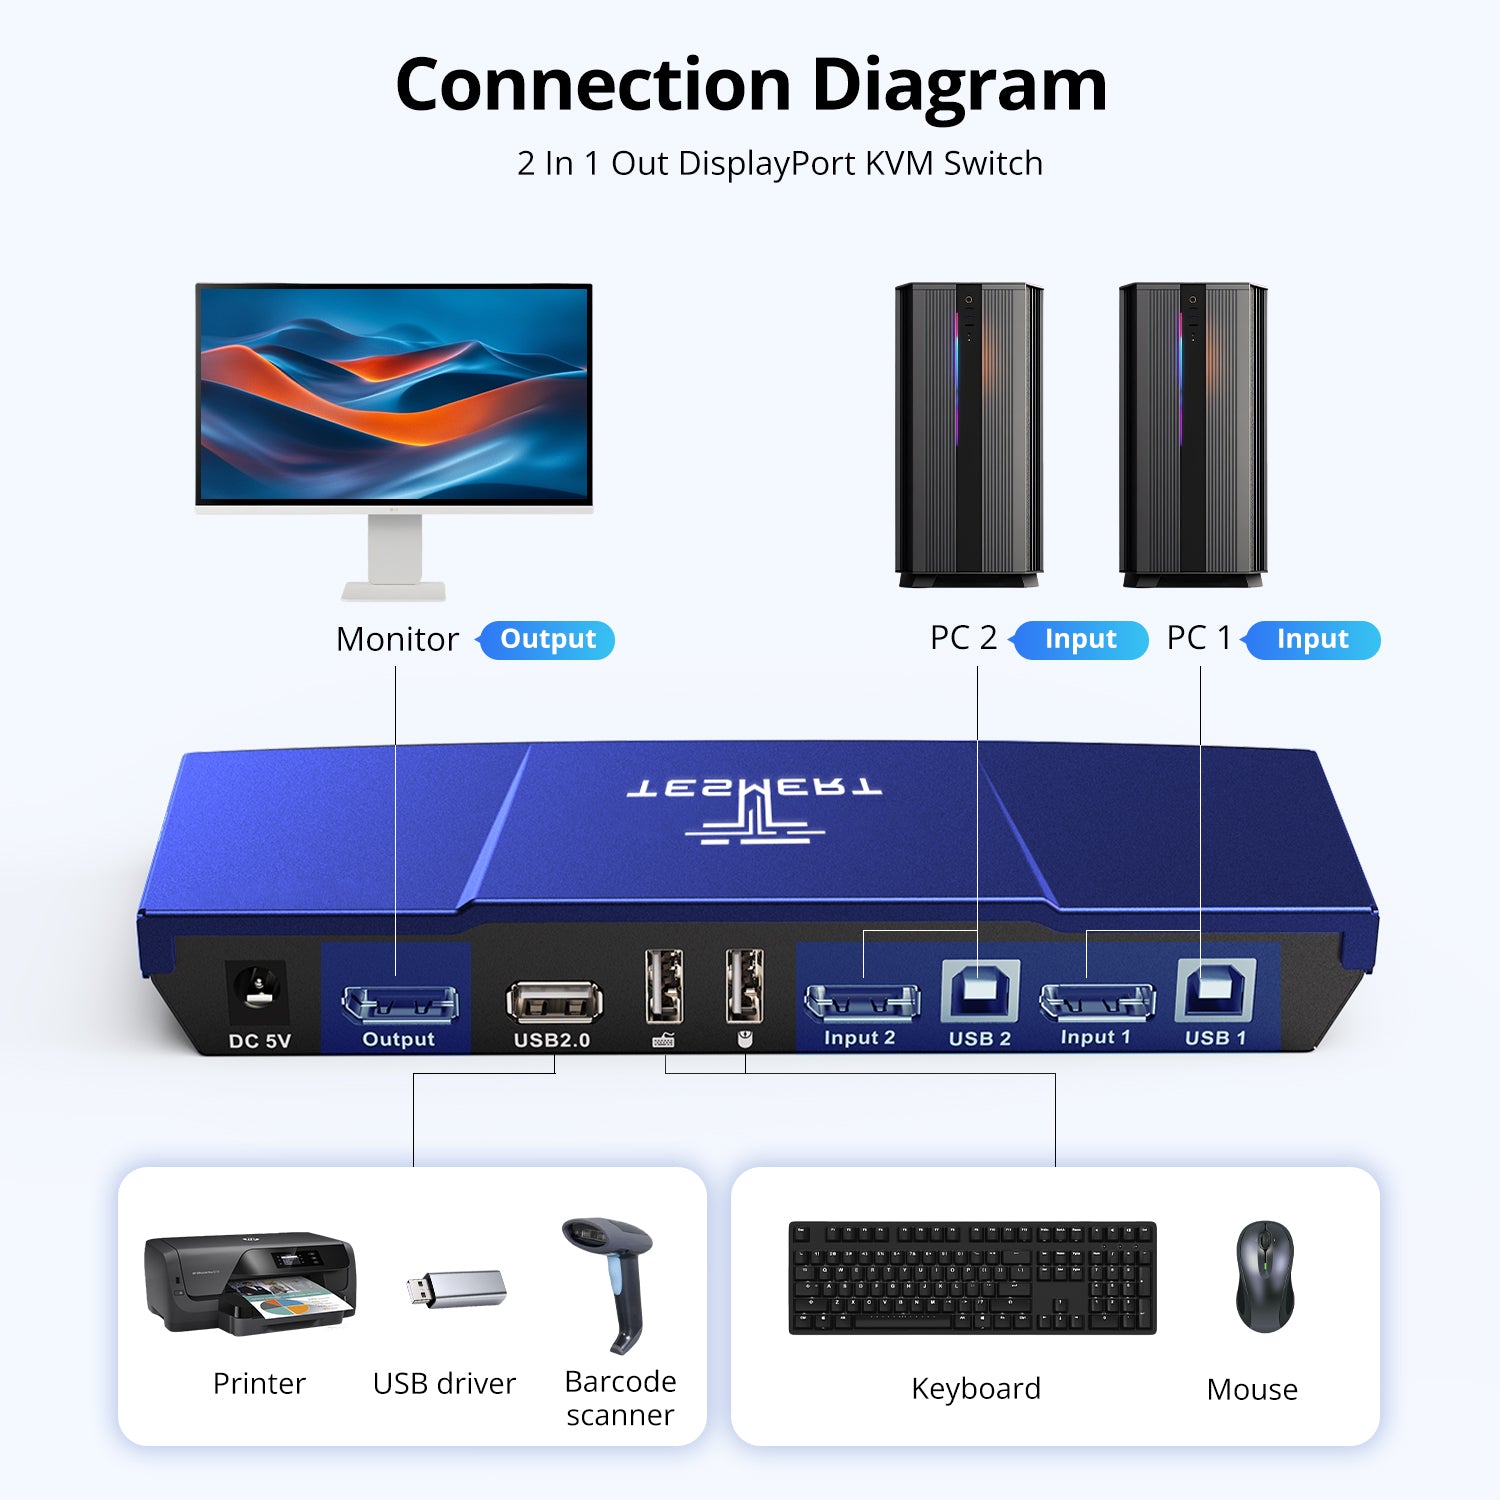
- Computer Inputs
• 2 × DisplayPort 1.2 + USB-B - Display Output
• 1 × DisplayPort 1.2 - Shared Connections
• 2 × Dedicated USB Ports for Keyboard and Mouse
• 1 × USB 2.0 Hub Port
Display Support
- 3840 × 2160 @ 60Hz
- 2560 × 1440 @ 120Hz
- 1920 × 1080 @ 240Hz
System Compatibility
Windows, macOS, Linux (including Ubuntu, Debian, and Fedora), Raspberry Pi OS.
Other Features
- Plug and Play
- Customizable Hotkeys
Physical Specifications
- Aluminum Alloy Top Cover + Steel Base
- Dimensions: 195 × 85 × 30 mm
- Weight: 250 g
Power
DC 5V Power Adapter
Notes
For the best compatiblity, it is better to turn on keyboard and mouse pass through mode. In this mode, the keyboard and mouse are dynamically mapped to computer, so you are able to use special keyboard and mouse that with multimedia keys or other customized keys.
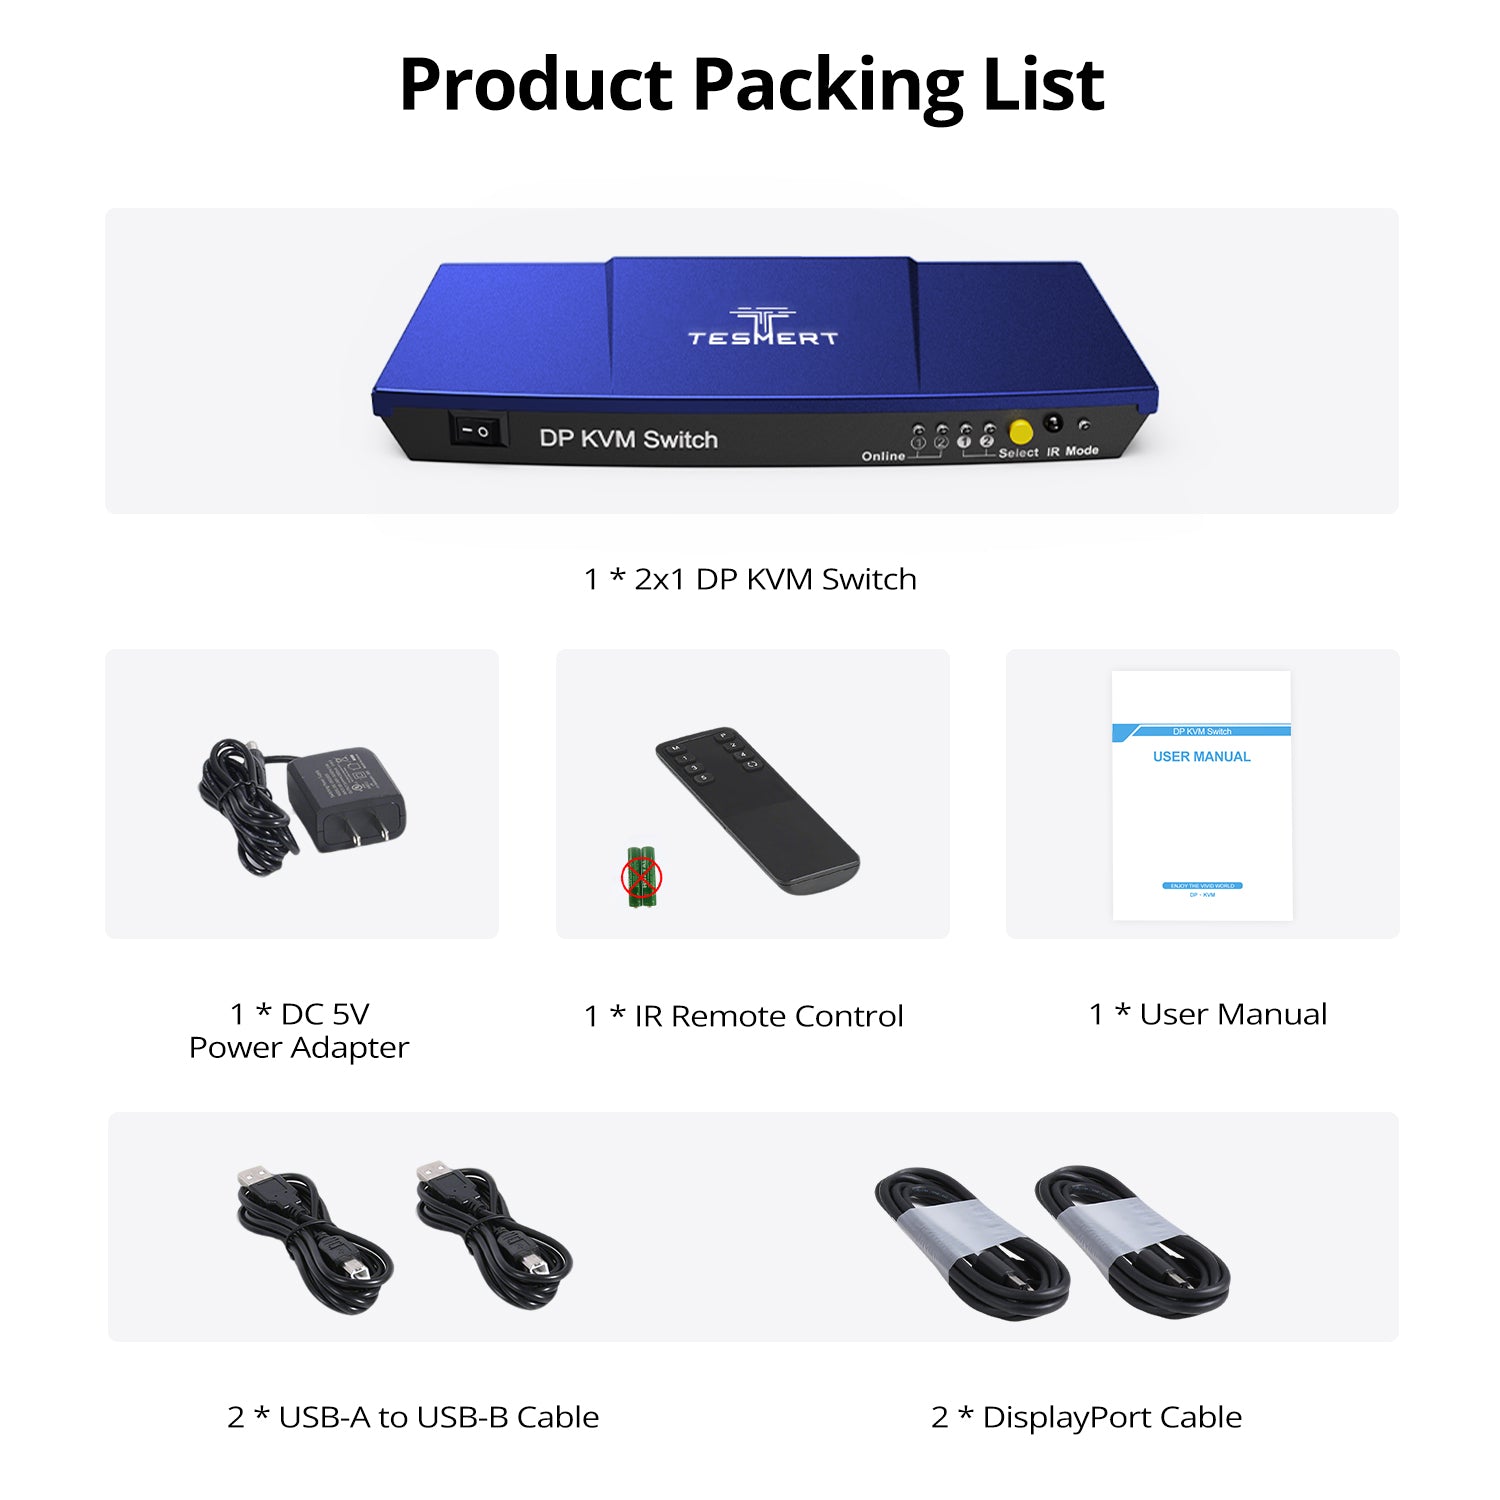
Included in the Box

1 * T2210 KVM Switch

2 * DisplayPort Cables (1.8m)

2 * USB-A to USB-B Cables (1.5m)

IR Remote Control

DC 5V Power Adapter

User Manual
Product comparison
Amount of Computers
2
Amount of Computers
2
Amount of Computers
4
Amount of Monitors
1
Amount of Monitors
1
Amount of Monitors
1
Video Type
DisplayPort 1.2
Video Type
HDMI 2.0
Video Type
DisplayPort 1.4
Max Resolution
4K60Hz
Max Resolution
4K60Hz
Max Resolution
5K120Hz/4K144Hz
EDID Emulation
NO
EDID Emulation
YES
EDID Emulation
YES
Special Features
USB-A 2.0 Sharing Port * 1
Hot Plug
Passthrough Mode
Special Features
USB-A 2.0 Sharing Port * 1
Hot Plug
Passthrough Mode
L/R Out
Special Features
USB-A 2.0 Sharing Port * 1
Hot Plug
Passthrough Mode
Will switching between computers move my windows or briefly disconnect the monitor?
T2210 does not include EDID emulation, so your monitor will briefly resync when you switch computers. A short black screen or display reconnection is normal, and switching time may vary depending on the monitor, graphics card, and operating system.
Because the inactive computer may detect that the monitor has been disconnected, some systems may resize or rearrange open windows after switching. Buyers who specifically need persistent display detection should choose a KVM model with EDID emulation.
Does T2210 support 4K monitors and high refresh rates?
Yes. T2210 supports DisplayPort resolutions up to:
- 3840 × 2160 at 60Hz
- 2560 × 1440 at 120Hz
- 1920 × 1080 at 240Hz
Your computers, graphics cards, monitor, and DisplayPort cables must all support the selected resolution and refresh rate. For the most reliable connection, use the included cables or certified DisplayPort cables rated for the required bandwidth.
Will my keyboard, mouse, and wireless receiver work?
T2210 is compatible with a wide range of standard wired keyboards, mice, and 2.4 GHz USB receivers. For the best compatibility with different types of peripherals, the pass-through function helps ensure more reliable operation with a wider variety of devices.
Some specialty peripherals, built-in USB hubs, proprietary drivers, or unusual HID protocols may still have limited functionality. Bluetooth devices without a USB receiver cannot connect through the KVM.
Which USB devices can I share between the two computers?
T2210 includes one shared USB 2.0 port, suitable for lower-bandwidth peripherals such as:
- Printers
- Barcode scanners
- USB flash drives
- Basic USB audio devices
- Other standard USB 2.0 accessories
USB 2.0 supports up to 480Mbps in theory, but real-world speed is lower. External SSDs, capture cards, high-resolution webcams, and other bandwidth-heavy devices are better connected directly to the computer or through a separate high-speed USB hub.
Can I connect a laptop, USB-C computer, or HDMI device?
T2210 is designed for computers with DisplayPort video output. Each computer also needs a USB connection to share the keyboard, mouse, and USB peripheral.
A USB-C laptop can be used with a USB-C-to-DisplayPort adapter or dock, provided the USB-C port supports DisplayPort Alt Mode. HDMI devices require an active HDMI-to-DisplayPort converter; a basic passive cable may not work because HDMI-to-DisplayPort conversion is directional.
Adapters may also affect the maximum supported resolution or refresh rate, so a direct DisplayPort connection is recommended whenever possible.
Is everything needed for setup included, and do I need to install software?
No software or drivers are required. T2210 works through standard DisplayPort and USB connections and supports Windows, macOS, Linux, and other commonly used operating systems. The package includes:
- T2210 KVM switch
- Two DisplayPort cables
- Two USB-A to USB-B cables
- IR remote control
- DC 5V power adapter
- User manual
Connect each computer with one DisplayPort cable and one USB cable, then connect your monitor, keyboard, and mouse to the KVM. Keyboard hotkeys only work when the keyboard is connected to the dedicated keyboard port.